Ultralight Backpacking Gear List: Keeping Your Rucksack Light
I’ve always been the kind of hiker who tries to lighten the load in their rucksack, packing only the hiking essentials needed for the journey. This year I’ve decided to go one step further. In October, I’ll be setting off to fastpack the 86-mile Ridgeway route in Southern England, an endeavour that necessitated some thoughts around an ultralight backpacking gear list that would be suitable for the journey.
By definition, I’m not what you’d call an extreme ultralight backpacker and the tips offered in this post won’t include ideas such as hacksawing the handle off your toothbrush. After all, those few grammes are hardly noticeable and, if you’re already reducing weight in your rucksack by carrying only key items of gear, you won’t even notice the difference. Honestly, I dare anyone to tell me carrying an extra pair of bootlaces was enough to bring their hike to a grinding halt!
The aim of this post is to give you an ultralightweight backpacking gear list that will allow you to move fast without the burden of a heavy pack and, more importantly, be self-sustainable.
Okay, let’s do this.
Shelter, sleeping system and backpack
Shelter
The shelter I’ve chosen is the lightweight Eno ProFly which compresses down into a tiny space, and this point is key as I’ll be using a 20-litre rucksack for the hike. The reasons I decided to reduce weight and take an emergency shelter, or tarp, instead of using a full-blown tent are:
- A tarp can be erected in seconds which is key if your ultralight hike takes you into wet and wild conditions (the norm here in the UK, even in the summer!)
- Removing tent poles from the equation reduces both weight and setup time.
- The height of the tarp can be adjusted with ease, which is important when you’re trying to hide from the farmer whose land you’ve pitched camp one! Joking aside, the flexibility a tarp gives in terms of height adjustment is useful as it allows for tailoring to weather conditions.
Sleeping system
My sleeping system is comprised of two components: a sleeping bag, or quilt, and a mat.
Sleeping bag/quilt
Over the years I’ve collected numerous sleeping systems ranging from extreme cold weather sleeping bags like the Mountain Equipment Redline, to the Rab Ascent, and they’ve all performed admirably. The only issue is that, at 1290g, the Rab Ascent 700 is too bulky and warm for current conditions.
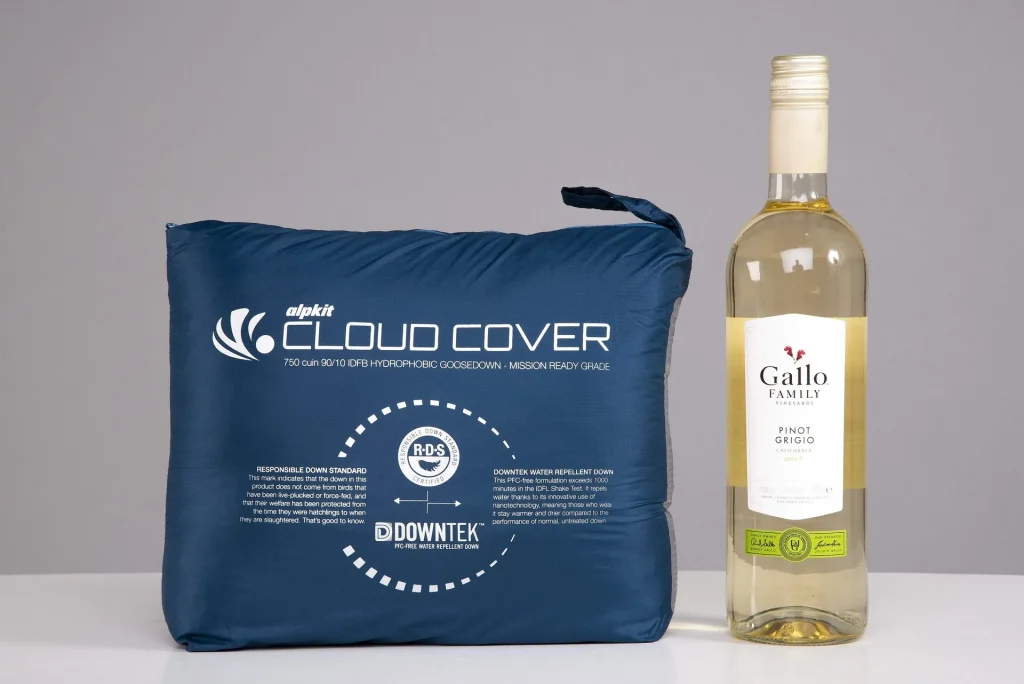
Recently I’ve had the opportunity to trial a few options including the RAB Mythic 200 and Mountain Core 125 sleeping bags, as well as the Alpkit Cloud Cover camping quilt (<- this linked post is a comprehensive how-to Jake wrote about getting a good night’s sleep using a quilt), a pretty lightweight hiking option that, when toggled shut, doubles as a sleeping bag suitable for use in temperatures down to 3C.
For my Ridgeway fastpack, I will be carrying the Alpkit Cloud Cover sleeping quilt. Why?
- It packs down small.
- At only 450g, it’s fairly light.
- You’re allowed to drink wine when you use it! (I made up that last point)
Here are a few other options Jake and I recommend:
Sleeping mat
No matter what type of hiking you’re into, ultralightweight or long distance thru-hikes, you’re going to need a sleeping mat that will ensure a good night’s sleep. I’ve trialled a few and they all have pros and cons, but to my mind, the most effective sleeping mat for the price is the Mountain Equipment Helium range.
Another good sleeping mat option for lightweight hikes is the Thermarest Corus 20, which Jake reviewed. It’s an older model, but the design and features Jake found useful are still built into Thermarest’s existing range of sleeping mats.
On this trip, I’ll be carrying the Mountain Equipment Helium 3.8, a sleeping mat that has kept me warm and well-insulated in temperatures down to -5 C.
Other notable sleeping mats you should consider include:
Backpack
Getting your choice of backpack right can be tricky and it’s all too easy to choose a pack that’s too big with the end result of you loading it with way too much gear. My personal choice for short, and ultralight, hikes is to pick a small backpack, and then work out what you can fit into it.
A good size, in my opinion, is between 20l and 25l. The Osprey Talon, which I’ll be reviewing after the hike, feels like a good fit. In addition to a roomy main compartment, the pack has a couple of storage pockets on the shoulder and waist straps, which are ideal for snacks and small items of tech gear such as your GPS, and phone.
What features should an ultralight backpack have?
A single main compartment
Small storage capacity of around 20l to 25l
Additional storage points on the shoulder and waist straps.
Good ventilation on the back, which is important if you’re going to move fast and sweating hard.
Water purification system
The choice of water purification system is a contentious one for many people. During my hike along Lake Baikal, all my water was drawn from melted ice and boiled for 10 minutes, before being allowed to cool until it could be drunk. This is a lengthy process and one well suited to extreme cold weather environments where fresh running water, or even pools, are non-existent.
For hikes in temperate environments, a number of options exist:
Boiling your water
Pros: a good ten minutes of boiling will ensure that pretty much any viruses, parasites and diseases are 100% dead. Once cooled, your water is safe to drink.
Cons: boiling water, and then waiting for it to cool, every time you want a drink is a time-consuming process. You also require more fuel, which adds weight to your pack. This is not an option for you if frequent access to cool water is needed.
Water purification tablets
Treating water with purification tablets is faster than boiling water and less expensive than drinking straws, but there is only one drawback: they taste like crap! Most tablets are blocks of chlorine and if you want to get an idea of what your water will taste like, go to your local swimming pool and gulp down a good mouthful. Nasty!
If you can get past the taste, and you’re looking for a fast and very effective way of treating water that’s worked for a very long time, water purification tablets are your go-to option.
Pros: Faster than boiling water, less expensive than drinking straws and without the logistics of carrying used straws to a disposal point.
Cons: it tastes like drinking water from a swimming pool, albeit without finding toenail clippings and used bandaids floating in your water bottle.
In all honesty, once you get over the taste, you’ll be fine. I used water purification tablets for 13 years in the Army with no side effects (my distended stomach and grossly bulging left eye were probably caused by eating cookhouse food!)
The ultralight alternative: use a drinking straw
No, I don’t mean the kind you get free with your MacDonald’s Coke! Use an ordinary straw and you’re on a one-way route to frequent, frenzied dashes into the undergrowth, or behind a bush.
The drinking straws I’m talking about are designed to filter out contaminants that will make you ill. They’re constructed with multiple layers of filtering that remove debris and those nasty bugs that will give you an upset stomach. Most drinking straws are relatively inexpensive and are very effective.
Pros: low cost, effective and can be used to drink from stagnant pools of water, drinking straws seem to be the answer to the ultralightweight hiker’s dream of getting water in whilst staying disease-free.
Cons: drinking straws become less effective the more you use them and each has a recommended maximum quantity of water they will filter before failure. The more straws you need, the more you pay. And you need to carry ‘dead’ straws back to a place where they can be disposed of as most aren’t recyclable.
Cooking system
An ultralight backpacking gear list would not be complete without some tips on the best pots and pans for the journey. And, as it is, the gods of hiking fortune have gifted us a huge array of light cookware that perfect for hikers moving fast and light.
Camping stove
I wrote a post on choosing the best lightweight camping stoves for hiking some time ago, and although the gear there is a little dated, the principles hold true. The aim here is to go as light as possible whilst using a stove that will heat water fast. Jake has written up a great guide to combining the MSR Pocket Rocket and Toaks pot. He also made a follow-up YouTube video you can view here.
The stoves we recommend use gas fuel and include:
- MSR Pocket Rocket
- The JetBoil Zip lightweight cooking system
- MSR Dragonfly (I’ve used this stove on a number of hikes and trips, and it’s amazing.)
The only downside to using a gas-fuelled camping stove is you need to carry any empty canisters to a disposal site.
Pots and pans
Go light. Go very light. You’re unlikely to need more than one cooking pot so take only one. Jake’s YouTube video linked above is a great example of going ultralight on your hikes. Typically he takes one small pot which is used to boil water for freeze dried meals.
If you want to minimal, I recommend you pack only a silicon kettle like this: Sea to Summit X-Pot kettle (US visitors here, UK visitors here).
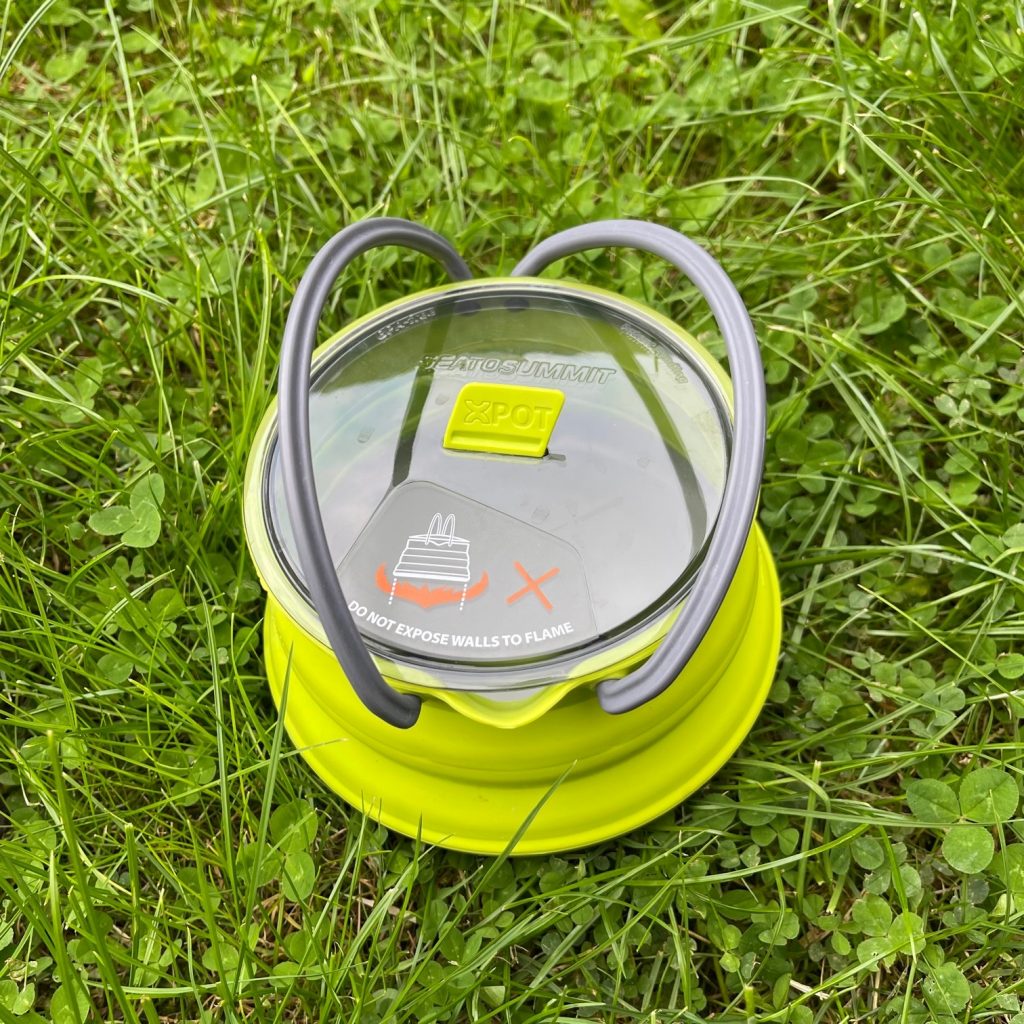

On this hike, I will be using the Toaks 550ml titanium cooking pot as it’s incredibly resilient and pretty light.
Waterproof clothing
Jake and I wrote a pretty comprehensive guide to choosing a waterproof jacket and waterproof trousers, and both of these are more than sufficient to help you make the right choice of clothing that will keep you dry. My preferred lightweight waterproof jacket is a GORE-TEX Montane Pac Plus, which it more than capable of keeping all but the most torrential rain and skin-shredding winds at bay.
No matter what you choose, there are two key elements you need to consider when choosing a waterproof shell: weather resistance (I recommend a minimum 10000mm head) and packability. Carrying a waterproof layer that won’t keep you dry in a heavy downpour, and takes up a huge amount of space in your rucksack, is a waste of your time and money.
Hiking footwear
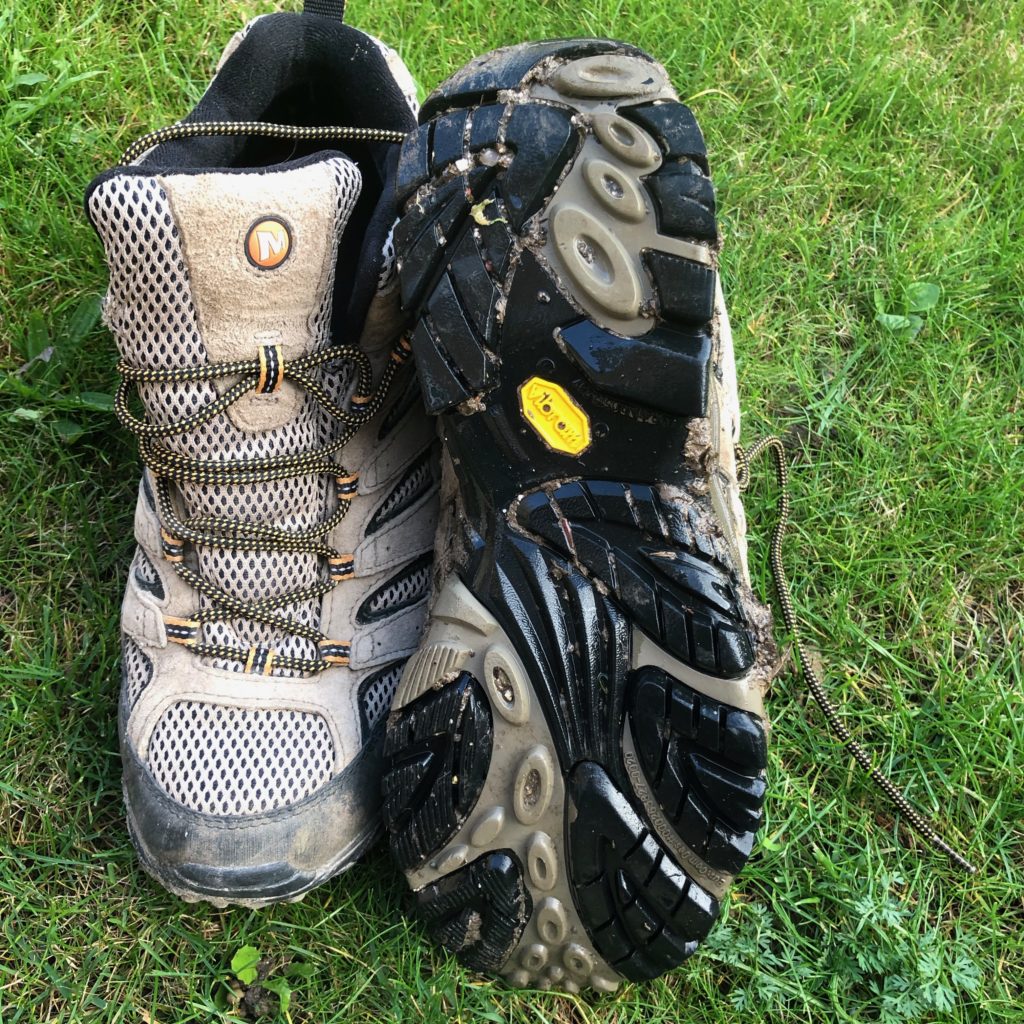
Choosing the best hiking boots or shoes can seem like a minefield. There are so many considerations it can feel hard to pin down the right boot, or shoe. Take a look around the web and you’ll find hundreds of footwear options that claim to meet your needs. Confusing, right?
Yes, but let’s put those concerns to bed. The obvious question in your head goes like this: I’m planning an ultralightweight hike which means I’ll need the lightest boots or shoes, I can find, right? Maybe not, and I’ll explain why.
I’ve already written a Merrell Moab 2 GTX review and these boots have become my preferred choice for pretty much every type of hike. And I’ll be using them when I fastpack the Ridgeway. They’re not the lightest hiking boot, nor the most waterproof (yes, they are GORE-TEX, but that doesn’t mean they will keep your feet moisture-free). What the Moab 2s are is:
- ‘relatively’ light. You’ll know you’re wearing them as they have a comforting heft (weight) when you pull them on, but not so much they sap your energy.
- flexible which makes them a great option for anyone wanting to move fast.
- reasonably cushioned enough to give you protection from all but the most jagged, technical terrain.
- priced so as not to break the bank. This is a big bonus.
Even if you choose to go with a boot other than the Moab 2 – the Vivobarefoot Tracker AT is a great alternative – your choice doesn’t need to leave you broke.
Your ideal boot should be lightweight and with enough cushioning to protect the soles of your feet from sharp rocks and with a high ankle cuff for support. It doesn’t need to be expensive, or designed for ultralight hiking. Instead, your boots, or shoes, should be what feels right to you.
If you need more help choosing the right footwear, check out our hiking boot guide.
First Aid Kit
A first aid kit is a key requirement no matter where you intend to hike, or how fast you move. And the environment and temperatures will further affect the selection of medical gear you pack into your kit. For now, we’ll assume your hike will be in a temperate region and the worst animal injury you can expect is being bitten by a midge (sorry USA, we’ll cover bears and other big, scary creatures in a dedicated first aid post).
For a full breakdown, check out our list of the most common hiking injuries, where you’ll find in-depth descriptions and treatments.
As a baseline, you’ll need to pack the following items in your FA kit:
- treatment for blisters (Compeed, or similar, works well)
- burns kit (gauze, balm, etc)
- aftersun (because even in a temperate region, strong sunlight can leave you with painful burns)
- sticky plasters/bandaids (the plasters I carry are brightly coloured – the kinds designed for small children – which makes them easy to spot)
- headache tablets (great for dealing with head pain that comes from dehydration)
Technical equipment: GPS and communications
My confessional: I love gadgets and techie stuff! And this is a big problem when it comes to keeping my pack lightweight. It’s all too easy to fill your rucksack with the gear you don’t need and over the years I’ve worked out the most essential equipment needed for a hike.
By stripping your gear back to the absolute minimum you’ll not only keep your backpack light, but you’ll also reduce the power demands that come with hauling an excessive amount of gadgets.
My recommendations include:
A smartphone
This acts as your primary mode of communication, but only if you’re within range of a cell, or tower. In addition to voice/messaging comms, you have the added safety net that comes with your preferred choice of mapping apps (Garmin’s Earthmate app is a superb example of a free app that provides basic global mapping and route planning).
A GPS/satellite communicator
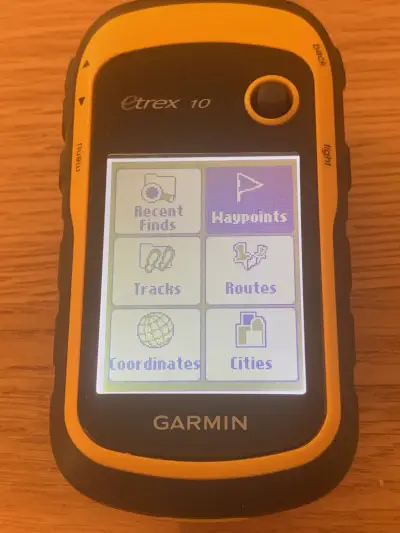
GPS devices such as the eTrex 10 should be near the top of your list of tools you use for navigation. In the number one slot should be a map and compass. And you should understand how to use them to not only navigate from point A to B but also use methods such as triangulation and back bearings to calculate your position.
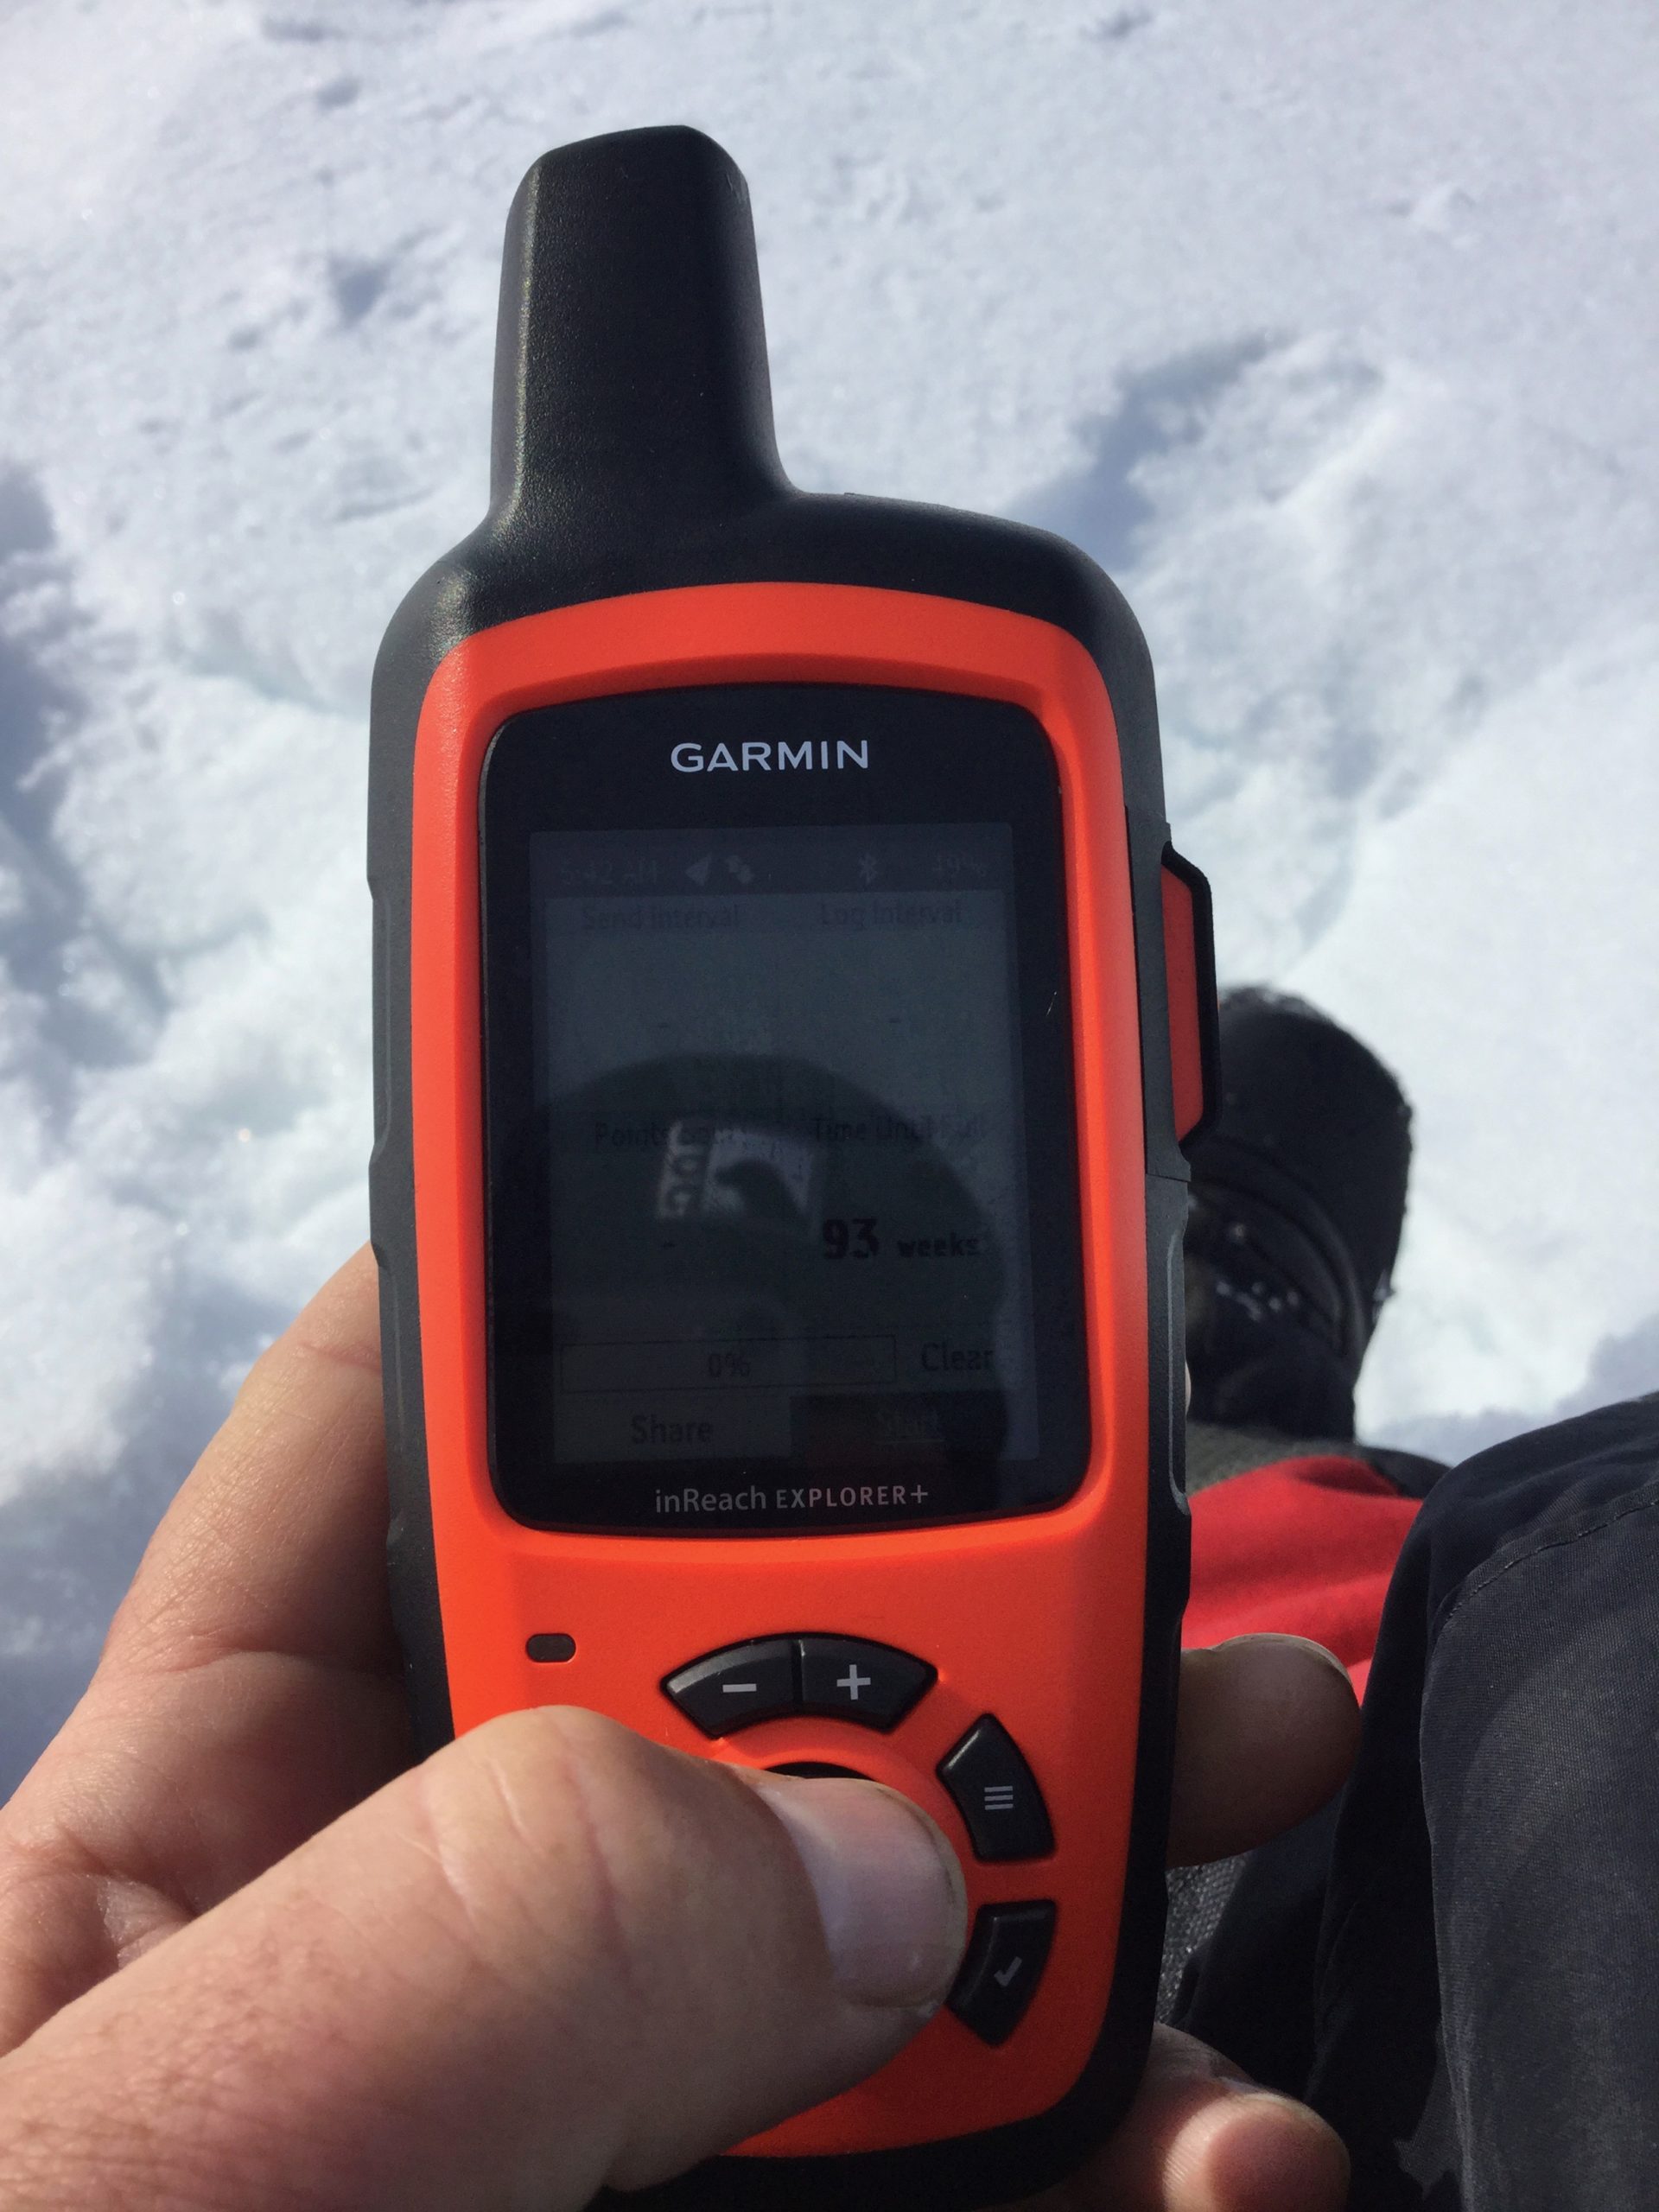
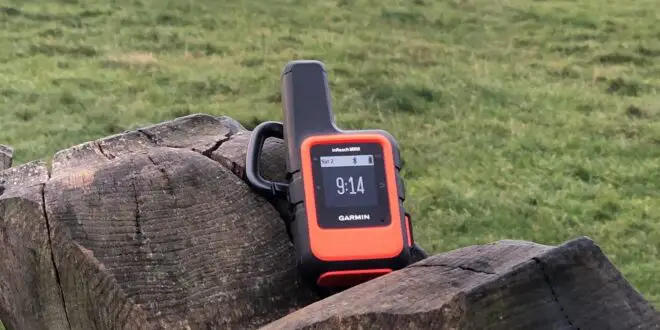
If you can afford one, a Garmin InReach, or Mini, device is the absolute pinnacle of GPS/satellite communications units. For a relatively small charge you can use the InReach to send and receive SMS messages via the Iridium satellite network, which is a must-have feature for those times when you might find yourself in an emergency situation.
That’s it: this ultralight backpacking gear list is done!
Whilst Jake and I always work hard to cover all the relevant information you need to stay safe on your hikes, we are not infallible. If you have any additions you think should be added to this ultralight gear list, then let us know in the comments.


