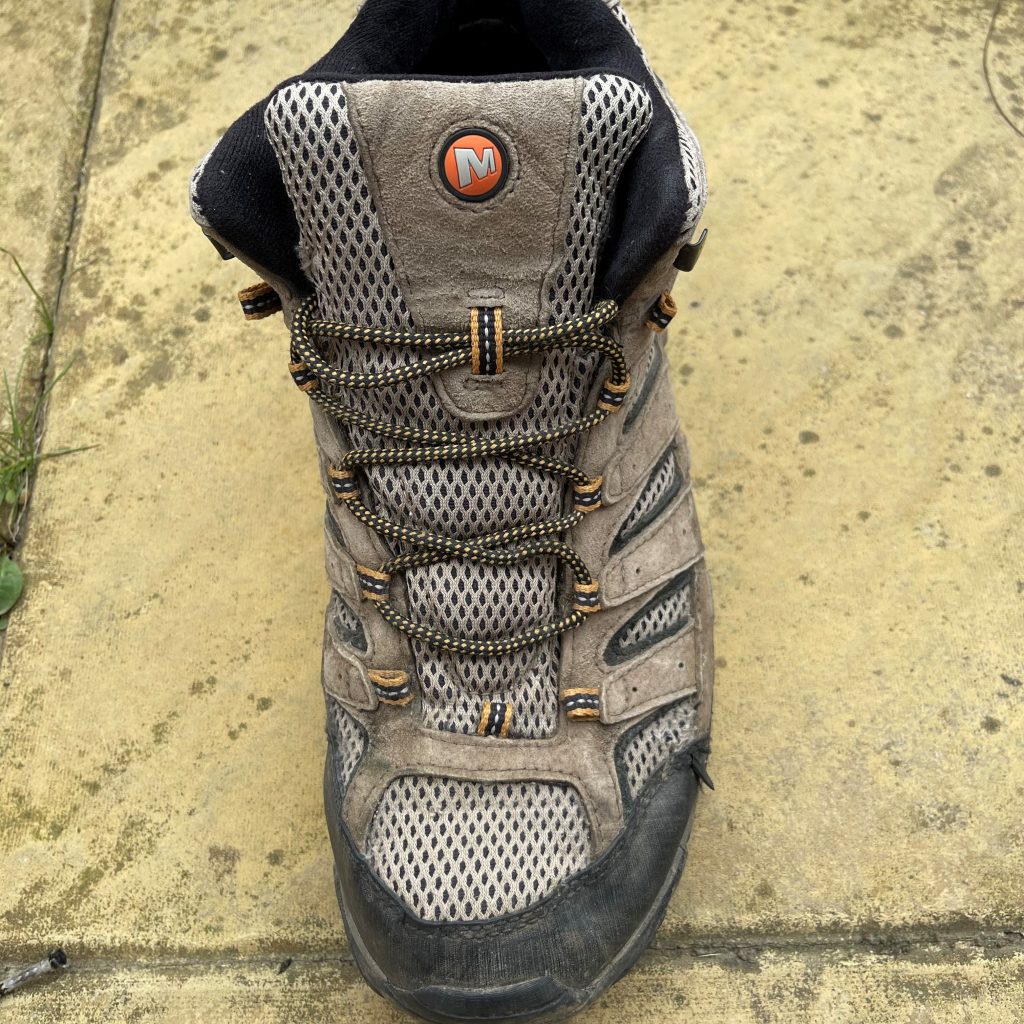
How to lace hiking boots
This page is part of our series on choosing hiking boots. You probably learned how to lace your hiking boots when you were a store being fitted. The problem is you were likely only shown one way to tie off your laces – the crisscrossing upwards until you have two open ends.
And fore most codnition this method is more than adequate. But what happens when you start feel discomfort or pain when you’re hiking? Well, you’re going to need some additional tricks in your big bag of lacing styles to stave off the misery of bleeding toenails, and uncomfortable pressure on the upper foot.
In this article, we’re going to cover off what Jake and I believe are the most useful and effective ways of lacking your hiking boots to provide relief from pain and discomfort:
- Surgeons knot – an effective way to stop your boot from slipping and causing blisters.
- Toe relief knot – a way to reduce pressure on your toes and reduce the risk of developing black toenails.
- Window lacing – another form of pressure relief lacing for the upper foot
Anyone who has done more than a few miles hiking will know there are numerous other lacing techniques you can use, and we encourage you to try them out. But in terms of simplicity and effectiveness, these are hard to beat when it comes to keeping your feet happy on the trails.
Having your boots fitted properly will also help reduce pain and the risk of injury.
Surgeon’s knot
The biggest cause of hiking injuries is ill-fitting, or too spacious boots. This can happen for any number of reasons, including:
- Incorrect sizing when you buy your boots
- The materail of your boots is worn out, saggy and no longer fits
By applying two surgeron’s knots across the first lacing hooks of your boots, you’ll be able to pull the boot material taught.
Tying a surgeon’s knot
- Pull your laces tight to draw out any slack in the boot, and give snug fit.
- You’ll create the surgeon’s note in the first, or second, lace hook on your boot. If at any point on your hike you feel your boot slipping, or want an extra sense of security, you tie the knot at each hook.
- Wrap the laces over each other twice, in the same way as if you were tying your shoe laces before creating a knot.
- Finish by closing off the knot in the normal manner.

Toe relief knot
Pressure on your toes is uncomfortable and can lead to painfull injuries such as black toenail. Worse, if you’re hiking in extreme cold environments you’ll be more at risk of cold injuries. Toe injuries can be caused by various factors, including:
- Poor fitting, or worn out boots
- Your feet slipping and banging against the toe box of your boots
- Tight boots
- Compression caused by wearing too many, or too thick, socks
By skipping the first two lace lugs, you remove the pressure on your toes.
Tying a toe relief knot
- Remove the laces from your boots.
- Now start lacing your boot through the second eye, or hook. By lacing further up the boot you remove the majority of pressure that normally sits across your toes.
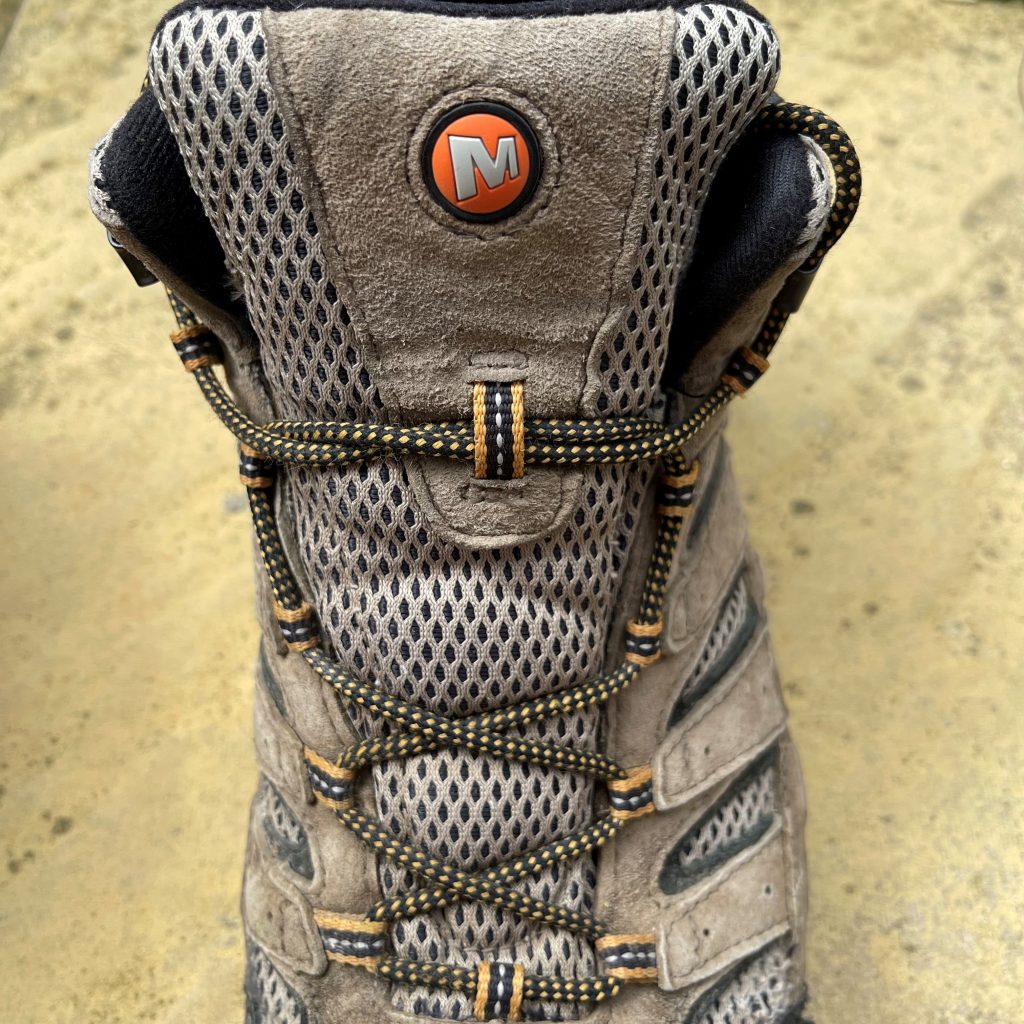
Window lacing
Window lacing, aka box lacing, uses a similar technique to toe relief, but can be used to reduce pressure on different parts of the upper foot. Direct pressure on the upper foot can be a result of:
- New boots that haven’t been broken in.
- Poor fit
Tying window lacing
- Identify the point on your upper foot where you feel the most pressure.
- Unlace you boots to the eye, hook, just below this point.
- Start relacing, going straight rather than using the traditional crisscross method.
- Tie you laces in your preferred manner past the place where the pressure was felt.
Wrapping (or lacing) it up
Knowing how to lace your boots in different circumstances can make or break your hike. DIscomofot and pain are not requirements and good foot health is important if you want to finish your hik.
Whilst each of these lacing styles are excellent in their own right, the most important consideration you need to make is this: are the boots you’re wearing fit for hiking in. If they’re old and worn out – get a new pair. And before you start eyeing up those awesome looking Merrells with the go faster stripe down the side, ask an in-store expert to get the right fit.
Happy hiking.