The Hikers Guide To Black Toenails
Every week, Jake and I will be answering questions submmitted by visitors and subscirbers to TrekSumo. The aim is help make your outdoor experience more fun, and way less painful. After all, there are so many things that can go wrong and the solutions aren’t always obvious.
Check out our guide to the most common types of hiking injury.
The first question sent in this week requested a solution to an age old problem…
Why do I get black toenails hiking?
The reason is simple: during your hike, or run, your toes move around inside your shoes, striking the toecap. These small, but frequent impacts rupture blood vessels under you toenail. After hiking, as the blood congeals, it thickens and darkens leaving you with black toenails. As well as being unsightly, this injury can be painful.
At the very worst end of the scale, this hiking injury can also lead to bone infection.
In case you’re wondering, this condition does have a medical term; it’s called ‘subungual hematoma’. Which means ‘undertoe bleeding’.
This post is part of our beginners guide to hiking.
Why do hiking boots hurt my toes?
For many reasons. These include:
Poor fit
A poor fitting boot, or shoe, is one of the most common causes of blackened toenails, blisters and footpain for hikers. When you walk, or run, your feet swell and footwear that’s too tight doesn’t leave room for this growth. This leads to more friction and impact on your cramped toes.
Wearing footwear that is too large will allow your feet to slide and butt up against the toe box. And, as with a boot or shoe that’s too restrictive, results in friction and impacts which lead to blistering and unecessary stress on your feet.
Boots not broken in
The second most common cause of foot and toes injuries comes from wearing boots that aren’t broken in. In particular, leather boots must be worn for a period of time before using them on the tracks and trails.
Why? Because new leather boots can be tight and inflexible. Only after a period of breaking in do they take on that ‘comfortable pair of slippers’ feel. Wearing for them at a regular frequency, and for increasing periods of time, before you hike will soften the leather and provide a more comfortable fit.
This factor is less of an issue with boots made from synthetic materials.
Carrying too much weight
A common issue we experience on long treks and thru-hikes is one of carrying too much weight in our rucks. But how do foot injuries result from carrying too much weight?
The more weight in your rucksack, the more pressure there is on your knees, ankles and feet. Thinking about your feet in particular, this pressure results in more foot swelling. And as your feet become more swollen the more they’ll bang against the toe box of yoru boots.
Poor support
One of the most essential components of the hiking boot are the insoles and poor selection will result in injuries. Most modern boots come fitted with good quality insoles, but even these will wear out over time.
The more you hike the less resilient your insoles becomes. Over time, and miles, the constant pounding of your footfall will compress the insoles until they become thin and hard. At this point, your insoles are no longer providing cushioning and are more likely to contribute to injuries.
Hiking downhill

Hiking downhill after a big climb might seem like mental bliss, but it’s a nightmare for your toes! No matter how well your boots fit, your toes will suffer on a downhill, especially if it’s a steep incline.
The reason is simple. A combination of body/pack weight and a downward walking trajectory will cause your to slip forward in your boots, resulting in your toes being pressed hard against the toe box.
Friction caused by hiking downhill is also a contributing factor to the formation blisters.
Wearing socks that offer little protection
Your choice of socks is important. Choose a pair that are too thin and you’ll have little cushioning and place yourself at high risk of developing blisters.
Wear a pair of socks that are too thick and you give your feet no room to expand as you hike. Also, thicker pairs of socks will hold more moisture which, as you’ve guessed, will cause high degrees of friction.
The right pair of socks reduces friction and lowers the risk of you developing black toenails as well as hot spots.
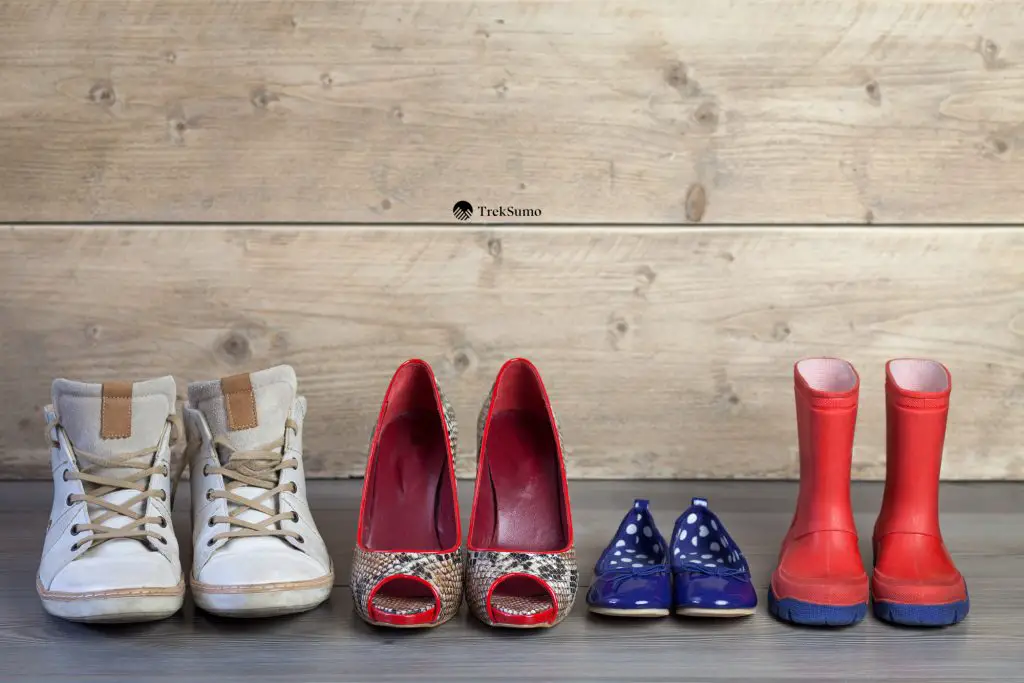
Wearing the wrong boots or shoes

Investing in good quality hiking boots or shoes is key to preventing blackened, or injured, toes. Suitable hiking footwear is not cheap for a reason: it’s been designed to tackle tough terrain and protect your feet.
To reduce the risk of foot injury, visit a quality outdoor gear shop and get advice on the best options for you feet. A reputable dealer will not only measure your feet, they’ll also test your gait on a running machine.
Note: you don’t have to wear hiking boots, or shoes, although we recommend you do. But if you’re considering lighter and flexible options, check out our post on the Altra Lone Peak 4 trail shoes, a great alternative.
Also, choose the right footwear for the terrain you’ll be hiking across. For example, lightweight hiking boots are not suitable for travelling over rocky ground with a heavy pack. Ask your dealer for advice.
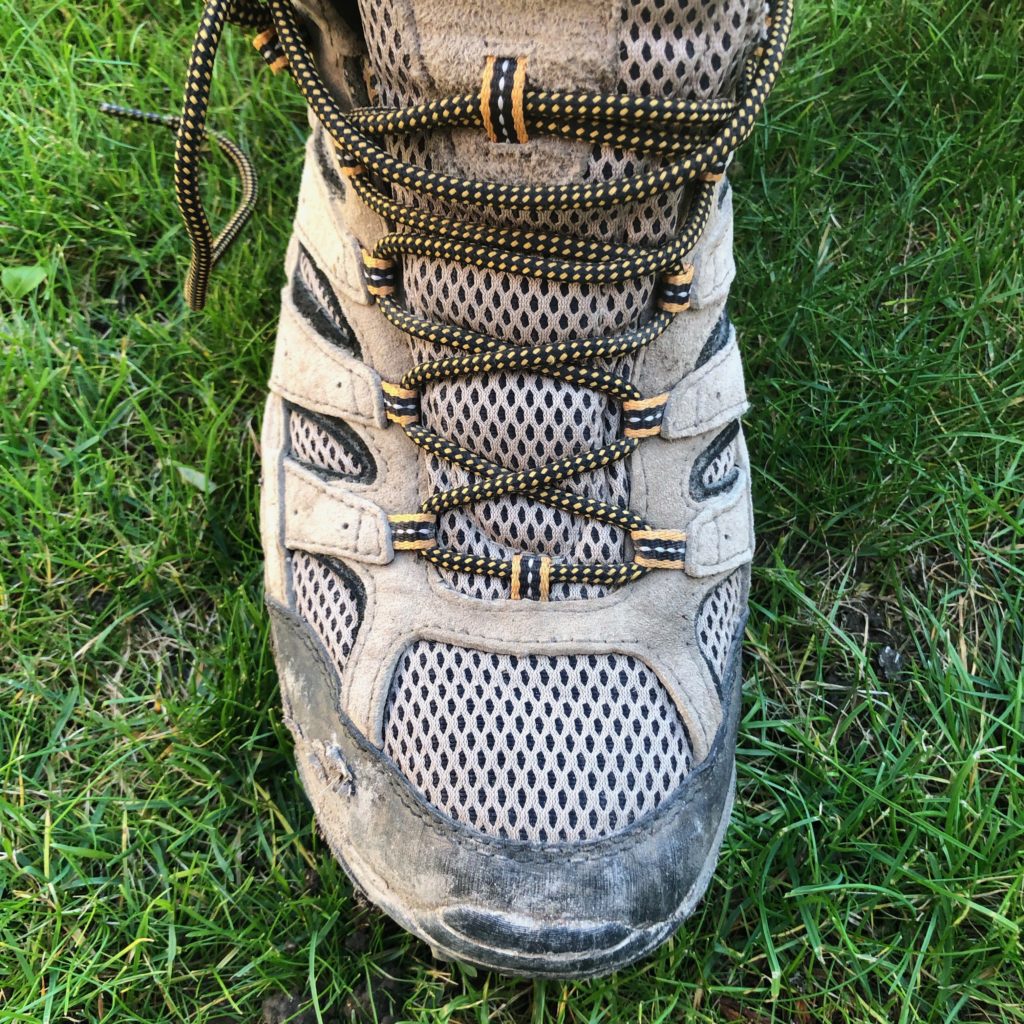
Not lacing your boots the ‘right way’

At a young age, we were taught how to lace our shoes for school. But those methods aren’t suitable for your hiking. There are three common ways to lace your hiking boots to reduce the risk of injuries:
- Surgeon’s knot: this knot is the most common and helps to prevent your foot from slipping.
- Window lacing: This is a great knot for reducing pressure on the top of your foot.
- Toe-relief lacing: a useful knot that reduces pressure on your toes.
For a step-by-step on how to use each of these knots, see our how to lace hiking boots tutorial.
Note: even if you have well-fitted boots, the wrong lacing will put pressure on your toes, causing injuries.
Okay, we’ve cleared up the why, now let’s deal with the next question…
How do I stop my toes from hurting (and bleeding) in hiking boots?
There are many ways you can reduce pain and bleeding of the toes. The first and most important consideration is to buy hiking boots, or running shoes, with the correct fit. The following are all important factors:
Go to a trusted supplier
The best way to protect your feet is to speak to a supplier and ask them to size your feet and suggest the best shoes, or boots. This might seem a blindingly obvious answer, but you’d be surprised how many people buy off the shelf, paying little attention to the amount of room available in the footwear.
Wear two pairs of socks
For some hikers this might feel uncomfortable at firts, but you’ll soon get used to wearing two pairs of sock. Wear a thin liner to wick away sweat and a thick pair over the top to cushion your toes. This will also help prevent blisters, another common and preventable injury suffered by hikers. If this approach doesn’t work for you, buy a thick pair of two-layer socks like 1,000 mile socks.
Break in your boots
This should be done way ahead of any planned hikes. Even synthetic materials need time to stretch and mold to your feet. Start wearing your boots for short walks about a month before you hike in them. Build up from short 10 minute strolls to a full hour over the course of 14 days.
If you bought leather boots, use a product like ‘Stretch and Soft‘ to speed up the breaking in process.
One final note: the old trics for softening leather don’t work. You know, advice telling you to urinate on them or heating them up as this dries out the leather leaving your more prone to injury.
Don’t walk straight down hills
In the Army, we called this cross-graining. The idea is to take an indirect route down a hill, crossing the countour lines at an angle. This reduces the amount your feet slip forward as some of the pressure is redirected onto your ankles.
Caution: over time, cross-graining can irritate your ankles. To prevent injury switch between direct and indirect routes on downward traverses.
Other ways to prevent black toenails
Putting in the necessary preparation before setting off hiking will reduce the risk of black toes. You also need to think about footcare on the move.
Here are a few more ways you can prevent injury and pain.
Pause for periodic checks
One piece of advice I hear is to not take off your boots until you’ve reached camp. This is bad advice. From time to time, pause and pull off your boots and socks.
Look for hot spots and any signs of brusing to you toes. If necessary, tape your toes and apply Compeed or similar.
Keep your feet dry
During a break, let your liner socks dry as much as possible and powder your feet. Removing moisture from both your feet and socks reduces friction and, in turn, aids in injury prevention.
Each night, when you camp, hang your socks up to dry and powder your feet again. Carry a second pair of liner socks to sleep in.
Tape your toes before you hike
Adding a layer of tape to your toes isn’t comfortable, but you’ll soon see the benefits. Apply a single layer of tape to each individual toe and allow to adhere before pulling on your socks. Zinc oxide tape is an excellent option as it’s highly adhesive and incredibly durable.
Warning: the tape will stick to your socks which will need a good wash to remove the adhesive once you’re home.
Re-lace your boots at pauses
If you experience pain or intense pressure on your toes you must stop and re-lace your boots. If you’re experiecning the first signs of blackened toenails, the best lacing technique for preventing, and aggravating, this injury is the toe-relief style.
Don’t press on. It only takes a couple of minutes to change your lacing configuration and will save you a world of hurt.
Summing it all up: avoiding black toenails is easy
The list above will help prevent black toenails when you’re hiking. Jake and I have used these tips on numerous hike and expeditions and they work. The days of embarrassment are over!
On a serious note, blackened toenails can lead to complications. The undertoe bleeding can lead to clots and cold injuries for anyone hiking in the extremes. Take care of your feet and they’ll take care of you


