Hillwalking Essentials | A Beginners Guide to Hillwalking Skills
Before we delve into this hillwalking essentials list, let’s take a moment to explore the meaning of hillwalking.
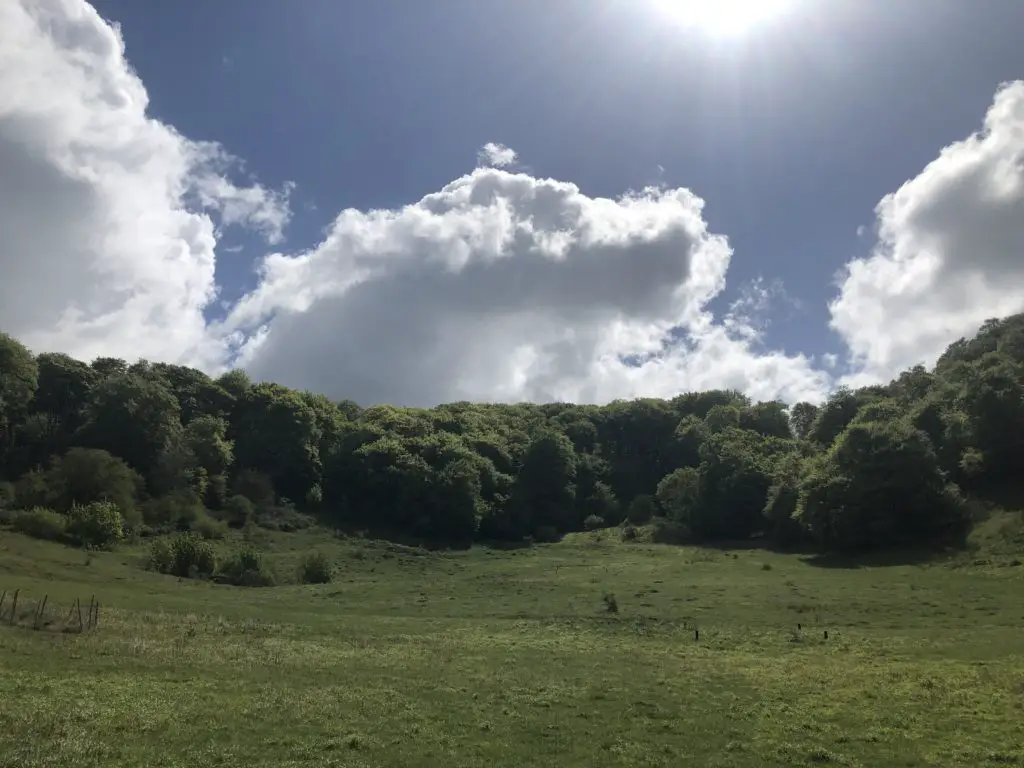
In the UK, the phrase hillwalking is used to describe the activity of walking on hills and mountains. In some parts of the country this pastime is known as fell walking. Unless you’re in the Armed Forces, this activity is recreational. If you’re like me then the aim of hillwalking is to visit the summits. Although a nice walk up Wittenham Clumps is equally stunning.
Hillwalking is a phrase that covers many other activities. A large number of people view hiking, backpacking and mountaineering to be close relations of hillwalking. I love all aspects of the outdoors and am not going to quibble over words. Terrain covered can include mountains, high moorland, remote passes and coastal walks.
You’ll need to have a few skills to hand to get the most enjoyment out of hillwalking and stay as safe as possible. I was fortunate enough to learn many of these skills whilst in the Army. You might need to pay for a course, or spend a good deal of time mastering the basics. The list of skills you need is dependent on your choice of destination. Here are a few considerations:
- climbing
- skiing
- hiking.
Other walking destinations will need you to have further specialist knowledge. These topics can include:
- rock formations
- snow craft
- weather
- navigation
- avalanches
- health
It looks pretty complicated, but don’t worry – I’ve extracted the essentials needed for a trip into the wild. If you want to go that next step then remember that knowledge is cumulative. Each layer build up on the last until you become a master of many skils.
Hillwalking Navigation for Walkers
Following a footpath is easy. But that doesn’t meant I haven’t been lost when hiking. One of the most critical hillwalking essentials is knowing how to find your way using a map. This is a skill that is useful in many areas of life. Being able to plan a route, taking into consideration obstacles and diversions, gives you more options for exploring in safety.
Basic map and compass skills are useful for many walkers, and essential in hilly, heavily wooded and remote areas. If you’re leading a walk then navigation skills are a MUST! The safety of your team is critical.
This section provides an introduction to navigation techniques. It also includes a number includes recommendations of books and courses that can help further develop this vital skill. Please take time to study the resources before attempting to navigate in remote and difficult countryside.
Navigation Equipment
For effective navigation, in addition to the appropriate maps carry:
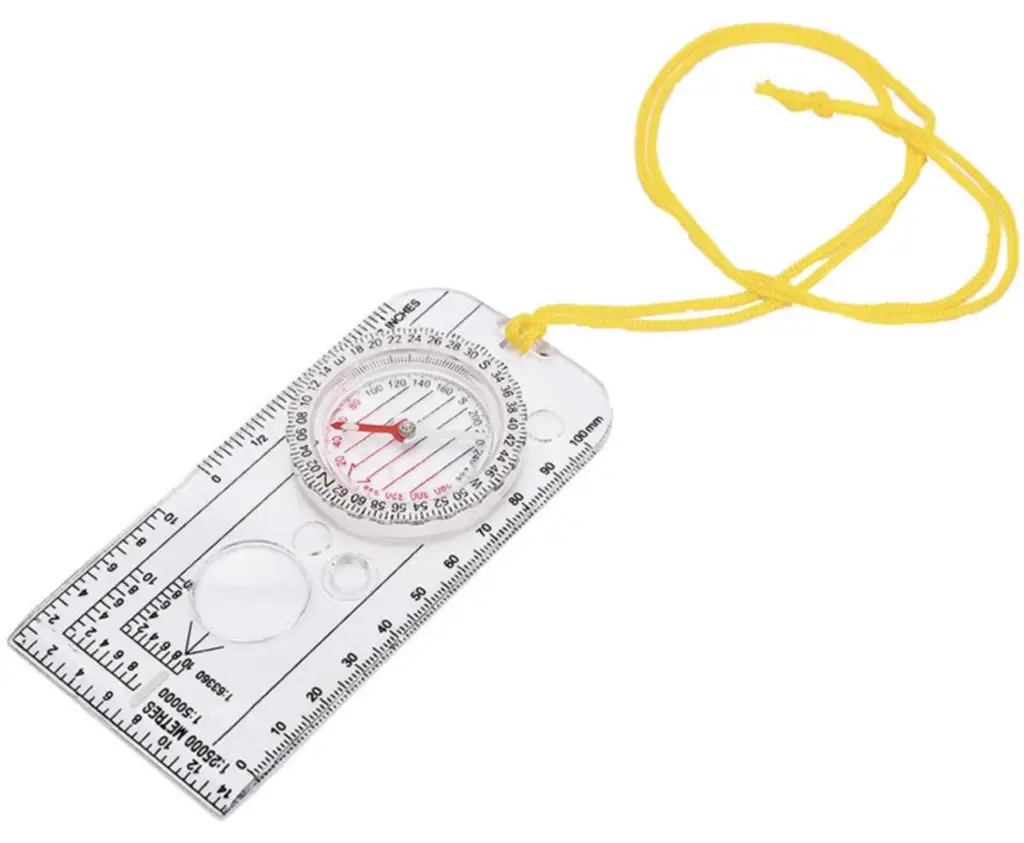
- a compass: in lowland areas you can place complete reliance on map-reading skills. Skilled use of a map and compass together will help you follow your route with much more accuracy, particularly in woods. In the hills a compass is essential, especially when visibility is poor. The best compass for this environment is either an orienteering or protractor compass. Choose a compass with a rectangular baseplate of reasonable size so it can be turned while wearing gloves. Buy a compass with clearly marked km/m scales that are readable in poor light.
- a pen or pencil. I recommend a pencil. In very cold weather pens can fail.
- a reliable watch, to help judge speed, track progress and plan for future journeys.
- a torch, a vital tool especially on those winter days when darkness gathers fast.
- a sealable map case or polythene bag to protect your non-waterproof map.
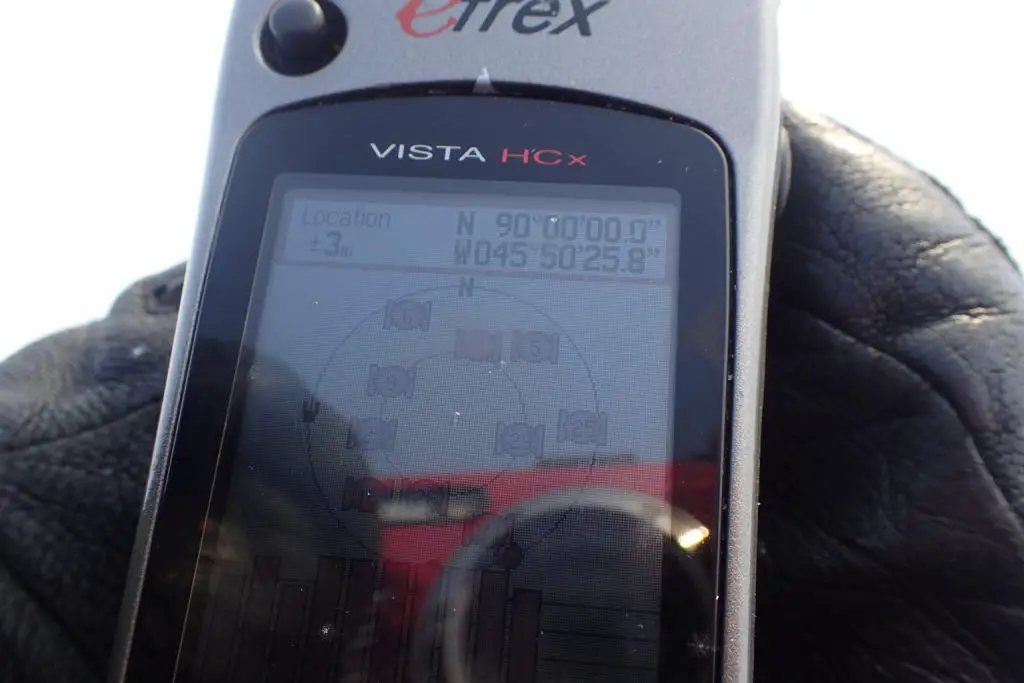
Some walkers use GPS satellite navigation units. These are hand-held receivers that pick up signals from satellites circling the earth, processing the information to give a read-out that can include:
- a grid reference
- your current altitude
I first used satnav in the Army and the technology has come a long way since those days. Some commercial GPS devices are accurate down to 1m. GPS units can be pre-programmed with a series of waypoints that add navigation. The device will also will work out the bearing and distance required to reach them. But, they are no substitute for traditional navigation and route-planning skills, which you need to use GPS most effectively.
For me, the major concerns with GPS systems is that they can run out of battery power and may lose satellite contact in bad conditions.
Map interpretation
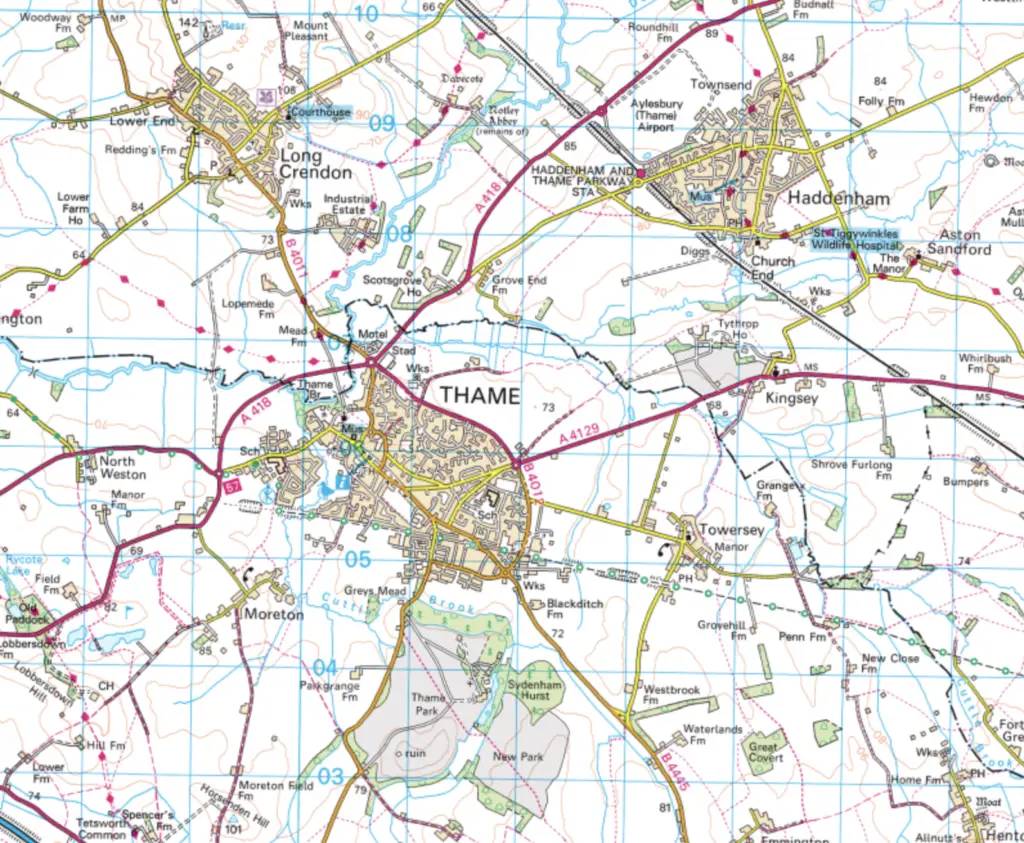
Understanding how to use a map is the most basic and useful navigational skill. Maps are simply an accurate picture of the ground as seen from above. The features are scaled down from life size. Symbols on the map show particular features and landmarks.
On a 1:25 000 map such as an Ordnance Survey (OS) Explorer , 1 unit of length on the map represents 25,000 units on the ground. This means that 1cm on the map represents 25,000cm, that is 250m or 0.25km, on the ground. On a 1:50 000 map, 1cm on the map represents 500m on the ground.
Measuring approximate distance of your route is simple. Lay piece of thin string along the exact route on the map, then lay it straight along the scale line on the map’s margin. This will give you a good idea of the distance you will travel. With practice, you’ll soon learn to estimate the distances involved by eye.
OS walkers’ maps are divided into squares that represent a square kilometre on the ground. When estimating the length of your route don’t forget the extra effort of climbing hills. (see Route Planning below).
Learn which features the different symbols represent. This is a useful skill as it removes the constant need to refer to the map legend. The best way to learn these symbols is to relate them to the way they appear on the ground.
Height and relief (the way the ground rises and falls) are shown on maps both by ‘spot’ heights. These references indicate the exact height at a certain point. Contour lines link together points of the same height. Again, you will soon learn to interpret these through practice and experience. From the map you should recognise overall height, the steepness of slopes (for example, tightly-packed contours mean a steep slope), and the major natural landforms such as valleys, ridges and spurs.
Some map markings do not show on the ground, such as council boundaries (unless these follow a physical feature such as a river or ditch), contours and grid lines. Rights of way marked on maps will often be visible as a distinct path or track on the ground, but in less well-walked areas the path may not be visible.
Remember that, although a good map will remain useful for at least a few years, the landscape is ever-changing and you should not be surprised if some features on the ground do not agree with your map.
Grid references
Overlaid on all OS walkers’ maps is a numbered grid dividing the country into 1km squares. The numbers repeat every 100km, so blocks of 100 squares are identified by a two-letter code. By using the letters and numbers and estimating tenths within a square, it’s possible to give a unique ‘grid reference’ to a specific point anywhere in the country within 100m. The system is explained in detail on the maps themselves and in OS literature.
Using a compass
Many people who walk in lowland areas rely purely on map-reading skills and never use a compass. However, using map and compass together will help you follow your route with much more accuracy, particularly in woods, and in the hills it is a vital skill that could turn out to be a life-saver.
The following notes simply identify the main points – to learn how to use a compass properly you should consult one of the recommended books or, better still, take one of the short professional courses listed. Remember, you must ultimately practise out in the countryside and on a regular basis if you want to acquire effective and lasting navigational skills.
Three basic techniques should be mastered:
- Setting the map by compass: aligning the map in the direction you are facing so that the features on the map match those on the ground
- Checking the direction of the path, for example at a junction in a wood where you can see no other landmarks to help you
- Travelling on a bearing: A bearing is the angle from north of the direction you want to travel. You should first measure the bearing from ‘grid north’ on the map to your objective. Then, for accuracy you will have to convert this to a bearing from ‘magnetic north’, which always varies slightly from grid north: details of how to do this should be shown on the map. Finally, you align your compass with the ground and travel along the correct bearing.
Route Planning
Start by asking yourself what sort of route you will enjoy: what sort of places you’d like to visit, what sort of terrain you want to walk through and how long you want the route to be. Mostly you will want to use off-road paths and open country: roads are often unattractive, unsafe and uncomfortable to walk on. You should also consider:
- Transport. Help ease congestion in popular areas by using public transport. If cars are the only alternative, park them safely and without causing annoyance or obstruction to others.
- Length and timing. The average walker takes an hour for every 3-4km, plus around 30 minutes for every 300m climbed (Naismith’s rule), but you should adjust this for your own abilities, or those of the least experienced and able member of your party. Hills, muddy or uneven path surfaces, high winds and bad weather can also slow you down. Build in time for rests, breaks and sightseeing, and don’t forget to take into account daylight hours and public transport times.
- Meal breaks. Look for good places to stop and eat at an appropriate point in the walk. If you’re relying on a pub or café in remote country, check the opening times in advance.
Guidebooks offer a multitude of walks that may suit your needs. By developing your map-reading skills you will be able to devise your own routes. Or adapt those created by other people.
Keep things flexible and include extra time for changes of plan. As well as potential problems such as bad weather, tiredness or injury, and blocked paths, you may also find you’ll have a more enjoyable walk by taking time to explore interesting features or alternative paths you find along the way. Look out for ‘escape routes’ and alternatives at the planning stage. Check the weather forecast on the day: online forecasts are on the Met Office site.
Route Cards
On most walks I find it relatively easy to memorise a route or highlight it on the map. But for more demanding walks, I prepare a route card. This should detail:
- the location of checkpoints along the way (grid references).
- times between checkpoints
- bearings and “escape routes” in the event of accident, or bad weather.
Before setting out, I always leave a copy of the card with a responsible person, and notify them on your safe return. In the event of an accident, help will arrive more quickly if rescuers have detailed information about your route. If you feel a detailed card would unnecessarily restrict your movements, at least leave a few notes about your intended whereabouts.
Get Hiking Fit
Don’t get me wrong, there’s no need to have superhuman fitness to be able to hike. But having a strong pair of heart and lungs is going to make climbing those hills a doddle. I also find, the fitter I am the longer and harder I can hike.
Getting hiking fit is easy.
We’ve written a rucking training programme which might be a little too much for some people. However, it can be modified with ease into a plan that will be more than adequate to meet your fitness needs.
If following a plan isn’t your thing, the easiest way to improve your strength and cardio is get out walking a rucksack on your back. Take gradual steps, building up weight and distance as you go.
What Other Hillwalking Essentials Do You Need to Know?
A lot. To be honest, this is a huge topic that demands an appropriate write up. For now, I hope this first instalment of hillwalking essentials is useful. Further posts will go more in-depth into topics such as equipment, food and fitness.


