Presidential Traverse – My kit list
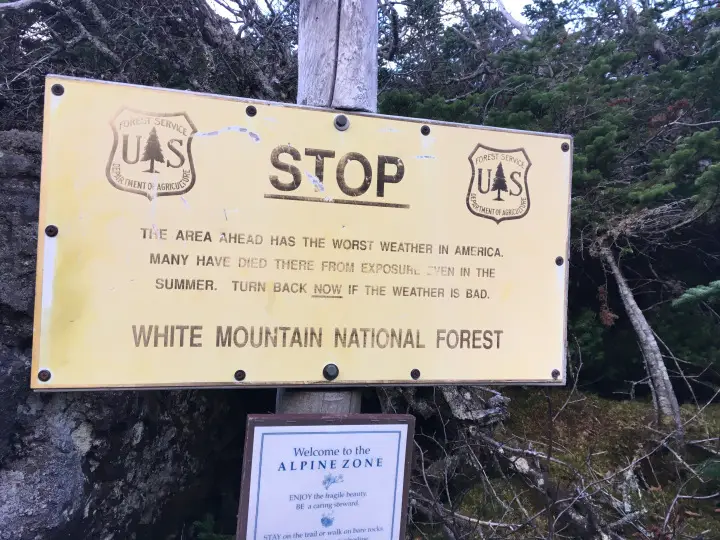
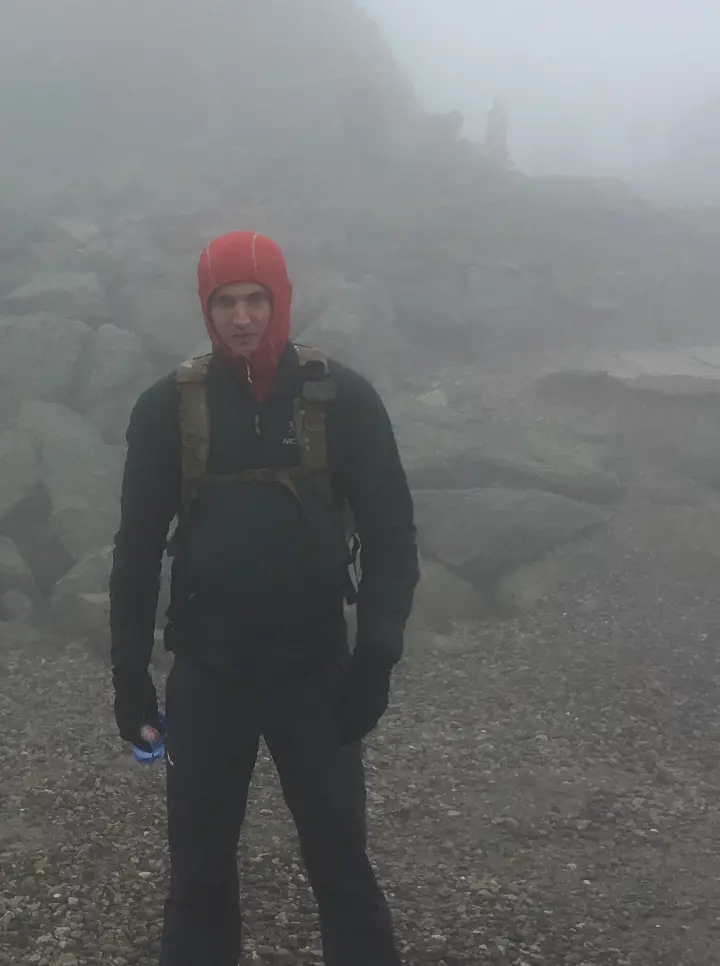
If you saw Monday’s post you’ll know that over the weekend I did a fairly serious hike in the White Mountains; famously home to the worst weather in the United States.
I thought I’d share the kit I took with me and some of the thinking behind it. I’m not suggesting that this is either a mandatory kit list, or the perfect kit list for any hike in this location. On the contrary, in winter you would need to take considerably more kit including specialised winter equipment such as snowshoes and crampons. All I’ll say is that in my opinion, the kit I took was sensible and cautious without being excessive for a mid-October hike with good weather forecast and no snow. Ultimately though, it’s going to be up to you to do your research, check the weather, and take the kit you think is appropriate.
Layers:
Base layer: Merino tshirt. It’s important to pay attention to your base-layer and not only spend money on the more exciting mid-layers and shells. Merino base-layers are pretty much ubiquitous for outdoor sportspeople, loved for their ability to wick sweat, dry fast, and not get too smelly too quickly. They keep you warm when you’re cold and keep you cool when you’re hot, and are all-round brilliant. Artificial fabrics are also an option, but stay well away from cotton, which will soak up sweat immediately and then get cold and clammy.
I used a simple tshirt while my brother had a long-sleeved shirt with a zip which allowed for more ventilation when we were out of the wind and getting warm from exertion. Either one worked well enough really, it’s down to personal preference.
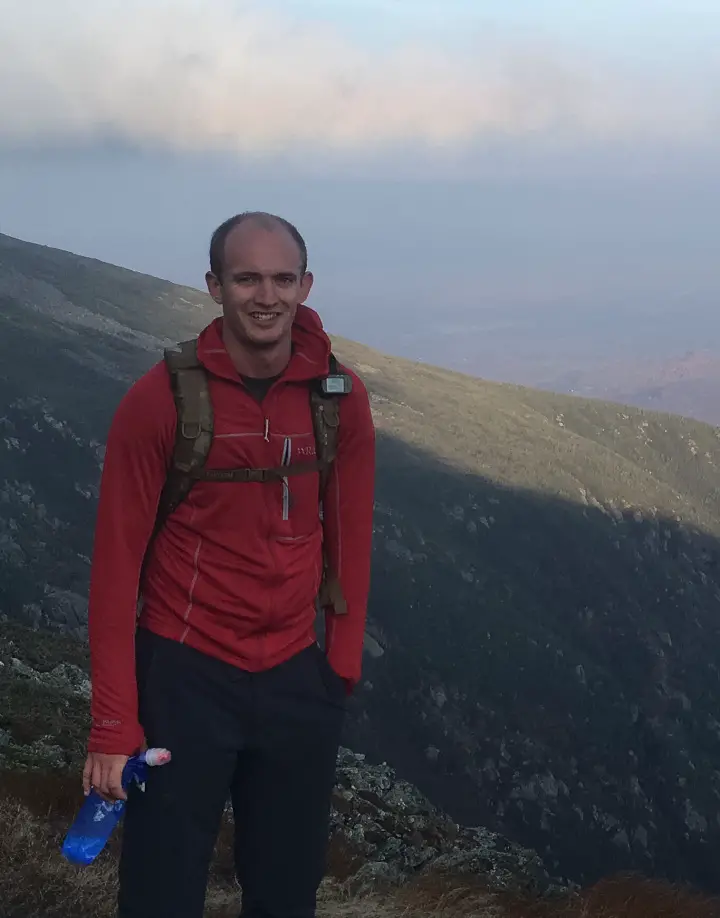
Lightweight mid-layer: Rab baseline jacket. This is a great active mid-layer; it’s made of lightweight polartec fleece with different inner and outer facings to optimise wicking and drying. I wore just this and my tshirt for most of the hike above the treeline, where it was cold and windy but we were moving fast enough to keep us warm, and it did an incredible job of keeping the wind at bay but without me overheating. The hood was a nice plus when the wind really picked up but my fleece hat would have overheated me, and it had the advantage that it was easy to pull the hood up and drop it again without having to dig in a pocket for the hat every time.
My brother had a very similar product from Patagonia, the R1 fleece. Most brands will do something along these lines, and they’re brilliant for both adding an extra layer when it’s really cold and giving you a mid-way option when you’re generating too much body heat to want your down jacket or heavier fleece on. It’s easy to look at the temperature on the weather forecast and just take a jacket rated to that temperature, but that’s the wrong approach: several thinner layers give you flexibility to be comfortable in any conditions.
Insulating mid-layer: Arc’teryx Atom Lt. This is the lighter-weight jacket of the Atom range, which uses coreloft insulation; a lot of warmth for minimal weight, and highly packable, being able to fold inside its own pocket. It’s essentially an artificial version of the down jackets that arc’teryx also make; the Cerium and Thorium series. The advantage of coreloft is really its ability to maintain warmth when wet – down jackets may be a little warmer but they require a fully waterproof shell if it rains, whereas the atom series can be worn as an outer layer in light rain, making them a little more flexible.
In the end I didn’t wear this much except on the very top of Mt Washington where the wind really picked up and it became very cold. That was fine though, as I mentioned in the previous post it’s important to have kit you don’t intend to use, as a safety buffer. When I did wear it, it performed brilliantly: the Lt (lightweight) atom is a great all-rounder and perfect for active use, with non-insulated, breathable, stretchy panels at the sides and under the arms to avoid overheating and getting clammy, but plenty of insulation on the areas that tend to get cold. I’ll write a more extensive review of it in the next few weeks.
Again my brother had a similar product from Patagonia, their Nano Air, which is also a synthetic insulated mid-layer with water-resistant treatment so it can be used in light rain. It doesn’t have the side panels which may mean it is a bit warmer but less breathable, although this product is famous for being incredibly comfortable and breathable anyway so I doubt it makes much difference.
Shell: Eastern Mountain Sports Thunderhead Jacket. EMS are a slightly more budget sporting goods company although they seem to make decent stuff and are apparently the official supplier to the Mt Washington observatory. I’m not that familiar with them as I don’t think they have much, if any, presence in the UK. Anyway, I wanted to spend as little as possible on a new shell since I already own a very nice Rab one that I had managed to leave in the UK. Since EMS is on the cheaper end and was on sale, this seemed like a good buy. In the end, I didn’t wear it at all as it never rained and the wind was never bad enough to need the extra protection, so I can’t really comment on it at length. It does, however, have some decent reviews online.
My brother brought his Westcomb Apoc, reviewed here.
Other kit:

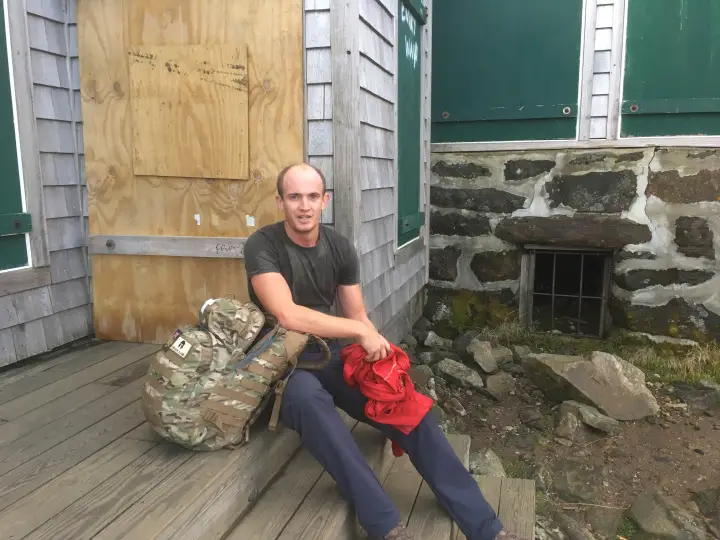
A day hike shouldn’t need a huge amount of extra equipment but, I like to be over-prepared and carrying a bit more weight rather than have a nice light pack and then regret not bringing something, especially knowing the reputation of the White Mountains. Most of the kit is fairly self-explanatory from the picture, but here’s an overview (going kind of left to right)
- Garmin foretrex GPS. I never really needed this for navigation, but it was useful to know our speed and nice to be able to download the track later. I would always take it however as it is a) a good defence against getting lost and b) reassuring to know that if needed I could give my exact grid location to a 911 operator.
- Camera. Taken, never used, iPhone photos all the way. Not sure why I bothered…
- First aid kit. Consists of a basic pre-packaged kit, some blister plasters and tape, plus a field dressing for serious bleeds, and a SAM splint. The splints are amazing, and I’ll do a proper post about them another time, but personally I’d highly recommend one for hiking where realistically a break or sprain is your most likely injury, and being able to hobble to cell-reception or below the wood line could save your life.
- Cylumes and torch (flashlight, for my American readers…), plus headtorch. The headtorch was vital as we started our hike in the dark. The others were a backup, but since we were setting off and potentially finishing in the dark it seemed like a good idea.
- Spare batteries (in the little green box to the right of the torches). About 10 spare AAA batteries. These fit my headtorch, handheld torch and Garmin, so I take a load to cover all bases.
- Map and compass. The trail is very well marked but I would never recommend going on a hike without a map and compass, it’s just basic. In the end we never really needed to navigate as we just followed the signs, but the map was occasionally useful to check which path to take and make decisions about which peaks to go over and which to skirt.
- Jetboil and lighter. You could definitely save weight by not taking this, or taking a smaller stove, as there’s no real requirement to cook during a day hike. However, a) I (rightly) thought that a hot lunch and a coffee would appeal after seven hours of hiking and b) in my view a stove is a useful safety/survival item if I somehow got stuck on a freezing cold mountainside.
- Small canoe bag. For putting things like gloves, the sleeping bag etc into. I’m a fan of these as it means you can have near total confidence that key items are dry regardless of what happens to your bag.
- OMM lightweight sleeping bag (see here for more info). I bought this originally for the MDS and for fastpacking but given it’s small size and light weight it seems to me a useful bit of emergency kit, giving me warmth, a degree of shelter, and even potentially a means to drag a casualty if things go really badly wrong (not long ago someone’s life was probably saved in the Presidential Range because their companions were able to put them into a sleeping bag and drag them below the treeline to shelter). Arguably overkill given the conditions, but enough people have died in the White Mountains that I’m not going to apologise for taking kit like this.
- Nalgene, folding water bottle and flask. Self-explanatory really.
- Food: a brew kit with coffee plus tissues and other useful bits, a dehydrated meal, and various snacks including Gu stroopwafels, beef jerky, banana crisps, and of course Kendal mint cake. Probably had about 3,500 calories here which I thought would give me only a relatively small buffer, but in the end I had a lot left at the end. Mostly I think I find that exertion (and early mornings) kills my appetite and, with the exception of lunch when I was genuinely quite hungry, most of the time I was forcing myself to eat because I knew I should rather than because I really wanted to. The mountain house macaroni cheese was nice, though takes a bit of time to prepare.
- Hat, gloves, buff. The outer gloves weren’t needed at all, and the liner gloves and hat weren’t really required much after the first half hour and for a bit on top of Mt Washington. Vital to have though, all the same.
- Not pictured because I’d tucked it into another pocket: a small survival kit.
- Not pictured because, after a final assessment of the weather and a check of the summit webcams we decided to leave these at the motel: microspikes, which are like lightweight crampons and popular with hikers when there is snow and ice but not enough to require snowshoes or proper crampons.
There’s not much I would change really. I think if I had known for certain that the Mt Washington visitors centre would be open, and that we’d arrive before it closed, I might not have bothered with the Jetboil and just taken a very lightweight stove with hexi fuel for emergencies. Likewise I could have got away with slightly less water and refilled at Mt Washington but, again, that relied on us getting there before the last cog train left at which point I assume the visitors centre closed, so I wouldn’t have wanted to risk reducing my water too much. As it turns out I probably could have got away with less food too, but I’d rather have it and not eat it than not have it and be hungry. I certainly didn’t feel I was lacking anything vital or carrying anything totally superfluous.